conorbronsdon/demo-gif-skill
Claude Code skill: add a reproducible demo GIF to any repo's README (vhs, Playwright, ffmpeg, gifsicle)
This project is a skill for Claude Code and agentskills.io-compatible agents that automates the creation of reproducible demo GIFs for repositories. It generates recording scripts using vhs for terminal interfaces or Playwright for web applications, then renders, optimizes, and embeds the resulting GIF into the README.
- Generates reproducible vhs .tape or Playwright recording scripts.
- Optimizes GIF files to target sizes under 8 MB.
- Supports terminal CLIs, TUIs, web apps, and libraries.
full readme from github
demo-gif
Maintenance mode. This project is stable and receives security fixes. New features aren't planned, but issues and pull requests are still welcome.
Add a demo GIF to any repo's README in one prompt. Scripted, reproducible recordings — vhs for terminals, Playwright for web apps — rendered, optimized, and embedded.



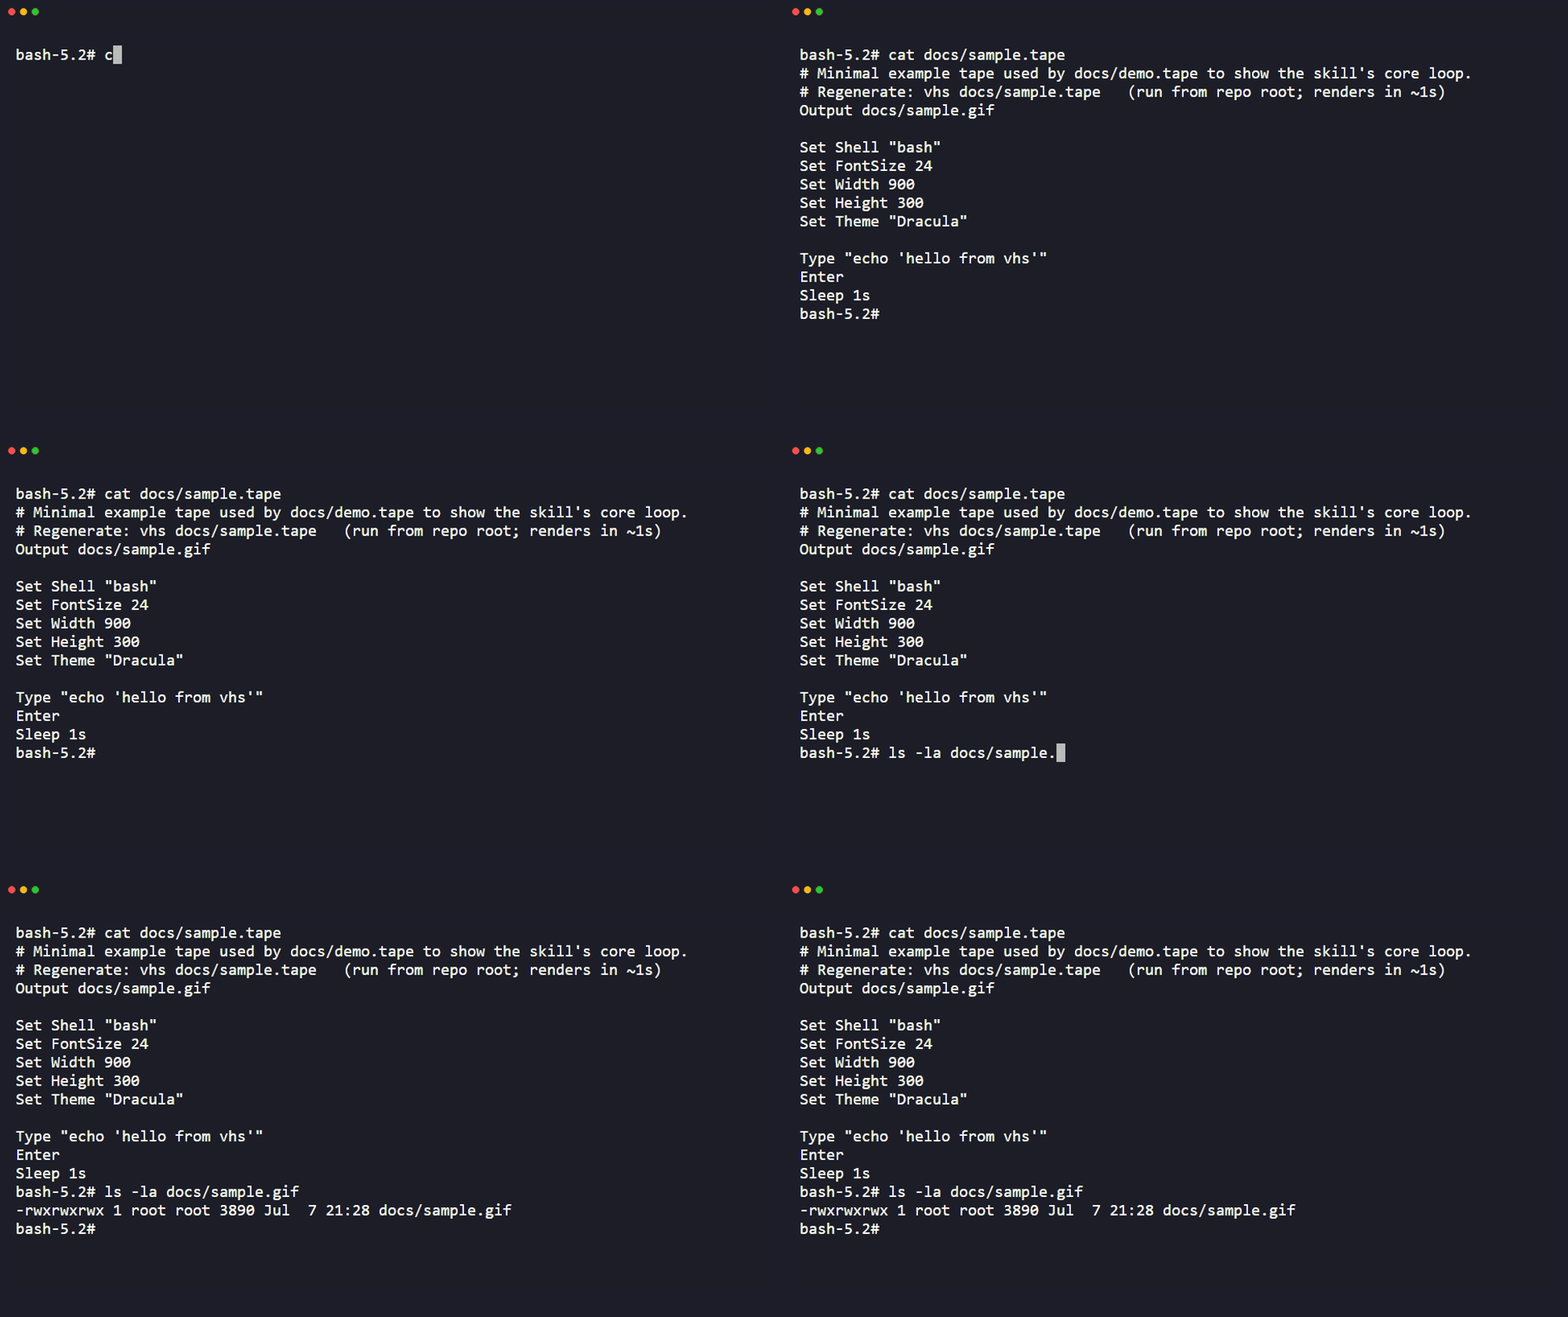
A skill for Claude Code and any agentskills.io-compatible agent. Point it at a CLI tool, a TUI, a web app, or a library and it picks a recording method, generates a reproducible recording script, renders it, shrinks the file, and drops in the right markdown — turning "add a demo gif to this README" into a one-prompt task instead of a 45-minute detour into screen recording software, hand-tuned ffmpeg flags, and a 30 MB file nobody wants to commit.
The GIF above is the skill dogfooding itself: docs/demo.tape and docs/sample.tape are both committed, so it's regenerable exactly the way Step 5 recommends. See the tape files for two real findings from building it — vhs isn't on PATH inside vhs's own recorded shell, and nesting a live vhs render inside another vhs recording crashes go-rod.
What it does
- Looks at the repo and figures out what kind of demo fits: terminal recording for a CLI or TUI, browser recording for a web app, a REPL/example script for a library.
- Writes a recording script instead of eyeballing a screen capture. Terminal demos use vhs
.tapefiles, which are plain text and re-runnable, so the demo can be regenerated later when the tool changes. Web demos use a Playwright script. - Renders it, then optimizes: frame rate, width, and lossy compression tuned to land under 8 MB.
- Embeds it in the README with real alt text, committed to the repo instead of pointed at an external image host.
Install
Copy the skill folder into your project's skills directory:
cp -r demo-gif-skill /path/to/your-project/.claude/skills/demo-gif
Or, if you're using Claude Code's plugin system, install it as a plugin per your plugin marketplace's normal flow and point it at this repo.
Either way, once it's in place, Claude Code will pick it up automatically when a prompt matches (see below). No extra configuration needed.
Usage
Drop it into a Claude Code session in the target repo and ask for what you want:
- "Add a demo gif to this README"
- "Record a demo of the CLI and put it at the top of the README"
- "This repo needs a demo showing the login flow"
Claude Code reads SKILL.md, works out whether the repo is a CLI, TUI, web app, or library, and walks the recording → render → optimize → embed pipeline. It'll ask if it's genuinely unsure what to demo (which screen, which flow), but otherwise it should get to a working GIF without much back and forth.
Requirements
You need at least one of these installed, depending on what you're demoing:
- Terminal demos: vhs (
brew install vhs,scoop install vhs,go install github.com/charmbracelet/vhs@latest, or Docker). vhs itself shells out tottydandffmpeg, so those need to be on PATH too (scoop's manifest installs both as dependencies automatically). No vhs available? Fall back to asciinema + agg — covered inreferences/tape-cookbook.md. - Web app demos: Playwright (
npm install -D @playwright/test) plus ffmpeg for the video-to-GIF conversion. - Optimization: gifsicle for the final size pass. Optional: gifski as an alternative GIF encoder for image-heavy content.
None of these are bundled. The skill tells you what's missing and how to install it if a command fails.
What's in here
demo-gif-skill/
├── SKILL.md                    # the skill itself — core flow and decision logic
├── references/
│   ├── tape-cookbook.md        # full vhs .tape command reference + patterns
│   └── web-capture.md          # Playwright recording + ffmpeg GIF conversion recipes
├── examples/
│   ├── cli-demo.tape           # complete, adaptable vhs example
│   └── web-demo.spec.ts        # complete, adaptable Playwright example
├── docs/
│   ├── demo.tape                # records this README's own demo.gif
│   ├── demo.gif                 # embedded above — the skill dogfooding itself
│   ├── sample.tape              # tiny sample tape — demo.tape cats it and checks its size
│   └── sample.gif               # pre-rendered output of sample.tape
├── LICENSE
└── README.md
SKILL.md is what Claude Code actually loads and follows. The references/ files are pulled in as needed for the deeper command syntax so the main skill file stays short. examples/ are working starting points, not templates to fill in blanks on — copy one, adapt the parts specific to your tool.
Notes on the approach
Screen-recording software gets you a GIF once. A .tape file or a Playwright script gets you a GIF you can regenerate every time the tool's output changes, which is the actual problem with demo GIFs going stale in READMEs. That reproducibility is the whole reason this skill defaults to vhs and Playwright instead of "record your screen and trim it in an editor."
The size targets and flag choices in SKILL.md and the reference docs were checked against the tools' actual documentation (and, where the tool was available locally, against real --help output) rather than assumed. If a flag has since changed in a newer release, vhs validate, ffmpeg -h filter=<name>, and gifsicle --help are the fastest way to confirm current behavior.
Codex plugin packaging
The repository root is also a Codex plugin: its manifest is
.codex-plugin/plugin.json, and skills/
contains the discovery adapter. Keep the whole repository when installing the
plugin; the adapter reads the canonical root SKILL.md and its bundled
resources. Existing standalone skill installations still work.
Run the skill against your target repository, not the plugin installation directory. Plugin installation does not install external tools or authorize changes to your files.
License
MIT. See LICENSE.
About
Built by Conor Bronsdon — host of Chain of Thought, a podcast on AI engineering. More skills and tools at github.com/conorbronsdon · X · LinkedIn.
Disclaimer
This is an independent personal project, not affiliated with, sponsored by, or endorsed by any company. All views expressed are my own.